September 12, 2026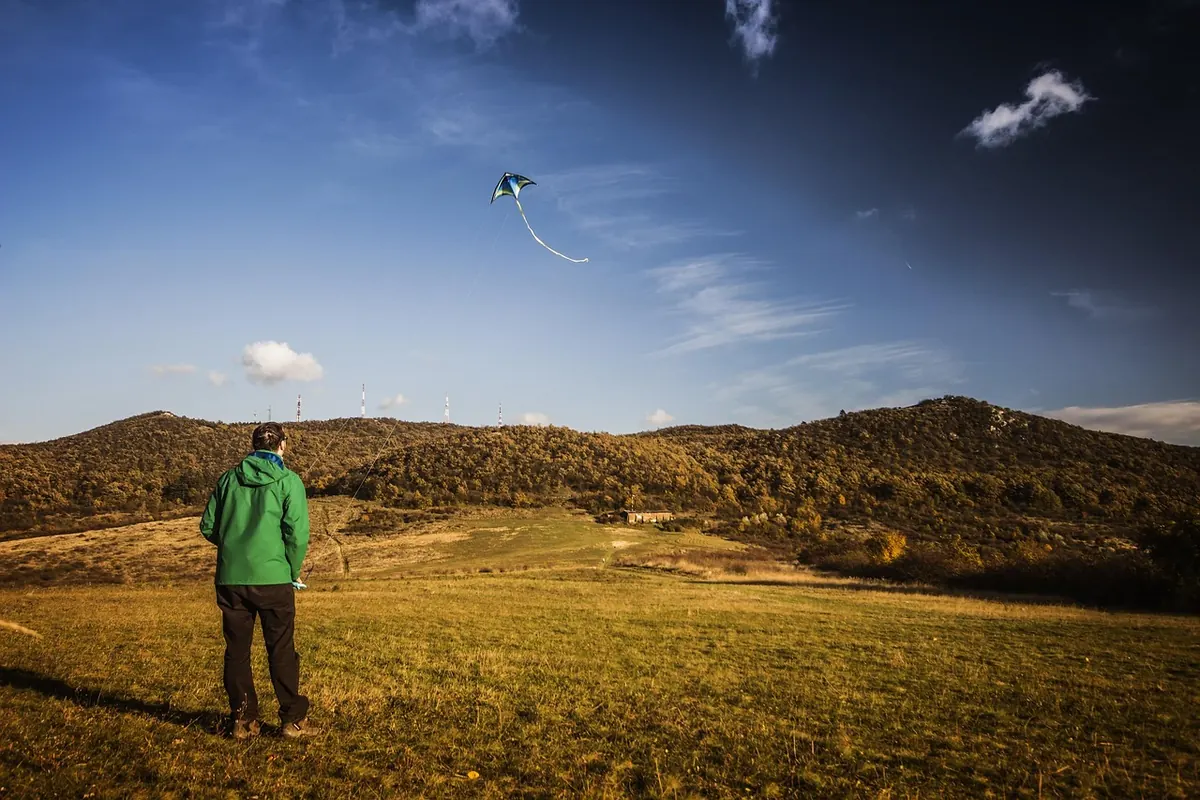
Two-line kites have a reputation for needing two people: one to hold the kite up, one to fly it. It isn't true. With a bit of routine a solo launch takes about thirty seconds, and landing on your own is easier still once you know which part of the sky to aim for. Get the setup right, let the wind do the holding, and the whole thing stops feeling like a juggling act.
Before You Launch: Wind, Space and Line Checks
Start with the field. You want open ground with clear space downwind, no overhead power cables, and nobody walking a dog through your flying area. In the UK that usually means a park, a playing field, firm sand at low tide, or a farmer's field with permission. Keep clear of livestock and horses; a kite dropping out of the sky spooks animals, and loose dogs will chase a low kite every time.
Then the wind. Stand still, feel it on your face, and look at what the trees are doing. If leaves are rustling and small branches are moving, you have roughly enough for most dual-line kites. If you have to lean into it, or gusts arrive every few seconds with a shove, it's a poor day for a first solo flight. Gusty wind turns a tidy launch into a scramble across the field.
Now check the kit:
- Both lines the same length. Unequal lines make a kite turn on its own, and no amount of steering will fix it.
- No knots, nicks or twisted loops near the handle end.
- Handles or straps the right way round — left line to left hand, right to right.
- Bridle lines clear, and not wrapped around a spar.
A screw-in ground stake earns its place in your bag. It gives you somewhere to park the handles when you need both hands.
Laying Out the Kite for a Solo Launch
Unwind both lines completely and walk them out downwind, keeping them apart. One twist here becomes a spin in the air, so spend the extra ten seconds separating them properly.
Lay the kite on its back with the nose — the leading edge — pointing straight into the wind and the bridle facing up. The two lines should run from the bridle, over the top of the kite, and back to you in a straight, untangled pair. If one line is hooked over a wingtip or lying across the sail, sort it now, not after you've walked back to your handles.
In anything more than a light breeze, weight the trailing edge with a small sandbag, your rucksack or a handful of grass so the kite doesn't take off while you're walking back. Check the weight isn't resting on a line.
The Solo Launch, Step by Step
- Stand upwind of the kite with the wind at your back, a handle in each hand.
- Take up the slack until both lines are just taut.
- Glance down: lines clear of your feet, clear of the kite, no snags on bags or stakes.
- Pull firmly and smoothly with both hands and take a step backwards. Don't snatch. In light wind a snatch just drags the kite along the grass.
- As the kite rises, keep your hands level and still. With equal lines it will climb on its own.
- Once it's a few metres up, steer gently. A dual-line kite turns on a whisper of input.
If nothing happens, walk back two or three steps and pull again, a little harder. If it still refuses, the wind is probably too light, or you're standing off the wind axis — move until the kite is directly downwind of you and try once more.
Launching in Very Light Wind
The folded launch
Most framed dual-line kites will launch folded. Fold the kite in half along the spine, wings together, and lay it on the ground with the nose into the wind. Walk back, tension both lines, then give a sharp pull. The kite unfolds as it lifts. It looks untidy, and it works far more often than you'd expect when there is barely any breeze.
Use your legs
On short grass you can simply walk backwards briskly with both lines taut. The air flowing over the sail as you move does the job the wind isn't doing. Long grass and soft sand are much harder, because the kite catches and drags — find a mown strip or firm sand if you can.
Landing Solo Without the Drama
Landing is where solo flying gets simple, provided you do it at the edge of the wind window rather than in the middle. The centre of the window is where the kite pulls hardest; the edges are where it behaves.
- Fly the kite to one side of the window, low and steady.
- Walk towards it as you bring it down, so the lines begin to slacken just as the leading edge touches the ground.
- Keep light tension as you approach. Fully slack lines let a landed kite flip over and relaunch, sometimes straight at you.
- Pin it — a foot on the trailing edge, or a wingtip pushed into the grass — and drop a weight on the sail.
- Only then pick up your handles and wind the lines in.
In a strong breeze, bring it down on the edge and be ready to move forward quickly. Hauling a powered-up kite back to the ground through the middle of the window is how lines get crossed and spars get broken.
When a Solo Launch Goes Wrong
- It lifts and spins straight away. Unequal or twisted lines. Land it, check both lines are the same length, and lay them out again.
- It slithers sideways across the grass. You're not directly downwind of it, or the pull was too gentle. Realign and pull harder.
- It flips onto its back and sulks. Usually too much slack, or it was laid out the wrong way up. Reset it with the nose into the wind.
- It hops, dives, then crashes. Over-controlling. Keep your hands level and let the kite settle before you steer.
- It drags you. Too much wind for the kite and for you. Land it, and save the stronger stuff for another day.
Packing Away on Your Own
Secure the kite first — weight it, or fold it — then wind the lines onto the winder in a figure-of-eight. That pattern keeps twists out and makes the next launch quicker. Run each line through your fingers as you wind; it's the simplest way to spot a nick or a frayed loop before it becomes a snap mid-flight.
And if you do get stuck, ask. Kite flyers are a helpful bunch, and most will happily stand on your kite for thirty seconds. With a clear field, equal lines and one firm pull, though, you won't need them.
Photo: Pexels / Pixabay